

Part 10 - Game Maps
This page is a work in progress
Although Wonder Boy has 32 rounds, there are only 11 distinct maps. Later levels
re-use these maps but with more monsters and obstacles. I'll add maps and walkthroughs
as I complete them.
|
|
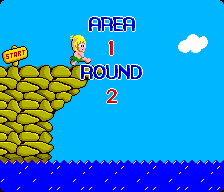
Download (8160x192, 29k PNG) (similar to 3-3, 6-1, 8-2) |
|
 Download (8160x224, 43k PNG) (similar to every round 4) |
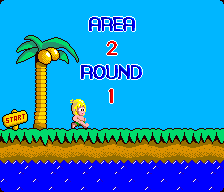 Download (8160x192, 24k PNG) (similar to 5-1, 7-2) |
 In Progress (unique) |
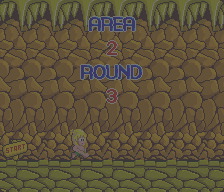 In Progress (similar to 5-2, 7-3) |
 Download (8160x224, 45k PNG) (similar to every round 4) |
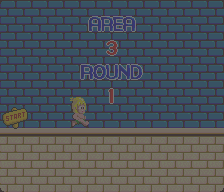 In Progress (similar to 5-3, 8-3) |
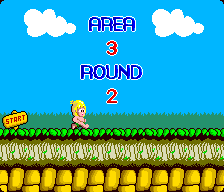 Download (8160x832, 139k PNG) (unique) |
 Download (8160x192, 32k PNG) (similar to 1-2, 6-1, 8-2) |
 Download (8160x224, 47k PNG) (similar to every round 4) |
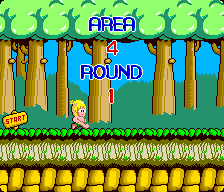 Download (8160x416, 54k PNG) (similar to 1-1) |
 Download (8160x832, 57k PNG) (similar to 6-3, 8-1) Walkthrough (TXT) |
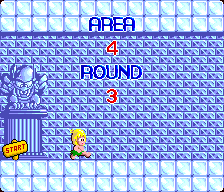 Download (8160x320, 49k PNG) (similar to 7-1) |
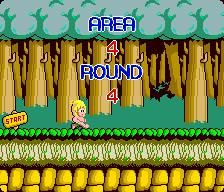 Download (8160x224, 46k PNG) (similar to every round 4) |
 Download (8160x192, 26k PNG) (similar to 2-1, 7-1) |
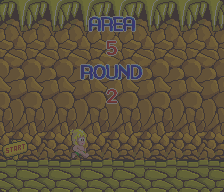 In Progress (similar to 2-3, 7-3) |
 In Progress (similar to 3-1, 8-3) |
 Download (8160x224, 48k PNG) (similar to every round 4) |
 Download (8160x192, 33k PNG) (similar to 1-2, 3-3, 8-2) |
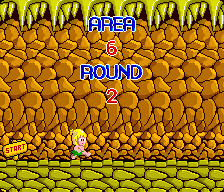 Download (8192x384, 59k PNG) (similar to 1-3) |
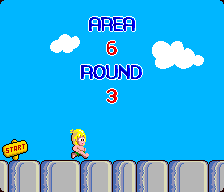 Download (8160x832, 63k PNG) (similar to 4-2, 8-1) Walkthrough (TXT) |
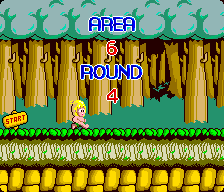 Download (8160x224, 48k PNG) (similar to every round 4) |
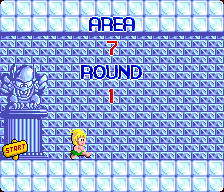 Download (8160x320, 53k PNG ) (similar to 4-3) |
 Download (8160x192, 27k PNG) (similar to 2-1, 5-1) |
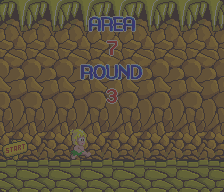 In Progress (similar to 2-3, 5-2) |
 Download (8160x224, 52k PNG) (similar to every round 4) |
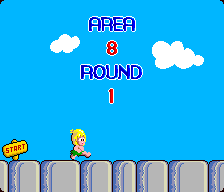 Download (8160x832, 66k PNG) (similar to 4-2, 6-3) |
 Download (8160x192, 33k PNG) (similar to 1-2, 3-3, 6-1) |
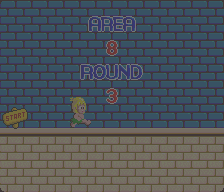 In Progress (similar to 3-1, 5-3) |
 Download (8160x224, 49k PNG) (similar to every round 4) |
Notes on map layouts
To make the maps readable, I've used a few symbols and standards:
- Boulders and monsters that move are placed at their initial starting points.
- High and low wasps are shown as high or low, even though they always start
off low in the game.
- High and low octopus are shown as high or low, even though they always start
off low in the game.
- Swordfish are shown at maximum hight above their initial starting point.
- Boulders are labelled with direction and speed.
- Blue Creatures are labelled with speed.
- Spiders are labelled with movement information. Double-ended arrows indicate
movement range, a down only arrow indicates a dropping spider. The "Range"
label indicates it will only start moving when you're within a certain range
(default for dropping spiders).
- When eggs show dual contents, it's based on whether you have an axe or not.
- All hidden axes (that only appear when you have no axe) are shown, but their
height varies depending on how long you've been without one so sometimes you'll
have to jump for it.
- Fries activation points are shown as bubble bursts, as well as showing the
fries themselves.
- All fruit is shown as junk food if it's possible to collect it that way.
- Escape bonuses are displayed based on the round number (Round 1=E, 2=S, 3=C,
and 4 is a bonus life).
- Moving platforms are labelled with movement information. Double-ended arrows
indicate the direction and range of the movement, multiple up arrows indicate
continually up scrolling platforms, multiple down arrows indicate continually
down scrolling platforms, and a collapsing platform is labelled with "Drop".
Fast moving platforms are labelled with "Fast". Moving platforms that
start off static are labelled with "Contact" or "Range",
depending on whether they activate upon contact with them or only when you're
within a certain range of them.
- Large Milks are labelled with their point value of 500 if the game does not
allow 10,000 points for quick pickup (I'm still trying to figure out the specific
trigger for this).
Notes on Walkthroughs
It's pretty much asumed you have an axe to do these. If you get killed a
lot, study the map a little more or read Part 11 for tips on surviving difficult
areas without the axe. If you're still really stuck, watch the MAME demo recording
or e-mail me for more information. Remember, this game takes a lot of practice
and many attempts to remember what's coming up. If you're frustated, take a
break.
Notes on Scoring Guides (included with Walkthroughs)
The scoring guides are mostly made for academic interest, since a perfect score
is not possible (eg. in Area 7 Round 2 Sign 2, the fruit above the first cloud
is impossible to get without dying). You can also get above a perfect score
by point leeching, especially at the fairy in Area 6 Round 3. Basically there
just to give you an idea of where you can pick up the most points and perhaps
where you need to practice if you're going for a high score.
So for scoring totals, certain assumptions are made:
- You never die.
- You always have an axe.
- You never have a skateboard, but always pick one up.
- You always get the mushroom.
- You never get Death (so no Death kill bonuses)
- Escape bonuses are calculated on the round number (Round 1=E, 2=S, 3=C, and
4 is a bonus life).
- Maximum round bonus and doll bonus is awarded
- Skateboard loss bonus is never included.
- Monsters containing the doll are counted as 0 points.
- Monster/obstacle destruction by the Fairy is calculated on the most number
of kills that can be made with it (this may mean some fruit is forfeited, but
this count is not deducted).
- Round 4 mushroom/milk eggs are counted as mushrooms.
- Large Milks are worth 10,000 where the game allows, as though picked up quickly.
![]()
![]()
![]()
![]()
![]()
![]()